Kayaking is an exhilarating outdoor activity that allows you to explore waterways and connect with nature. However, storing kayaks can be a challenge, especially if you have limited space. Building a rack for kayaks is an excellent solution to keep your kayaks organized, protected, and easily accessible. In this comprehensive guide, we will walk you through the process on how to build a rack for kayaks.
Benefits of Building a Kayak Rack
Organized Storage
One of the primary benefits of building a kayak rack is that it provides a designated space for your kayaks. This eliminates clutter and prevents damage caused by improper storage. A well-organized rack ensures that your kayaks remain in good condition and are ready for your next adventure.
Space Optimization
A kayak rack allows you to maximize the available space in your garage, shed, or outdoor area. By utilizing vertical space, you can store multiple kayaks without taking up valuable floor space. This is particularly useful for individuals with limited storage areas.
Kayak Protection
Proper storage is essential for preserving the integrity of your kayaks. When stored on a rack, kayaks are kept off the ground, protecting them from dirt, moisture, and potential critter damage. This extends the lifespan of your kayaks and reduces the need for frequent repairs.
Choosing the Right Rack Design
Before you begin building your kayak rack, consider the available space, the number of kayaks you own, and your personal preferences. There are several rack designs to choose from:
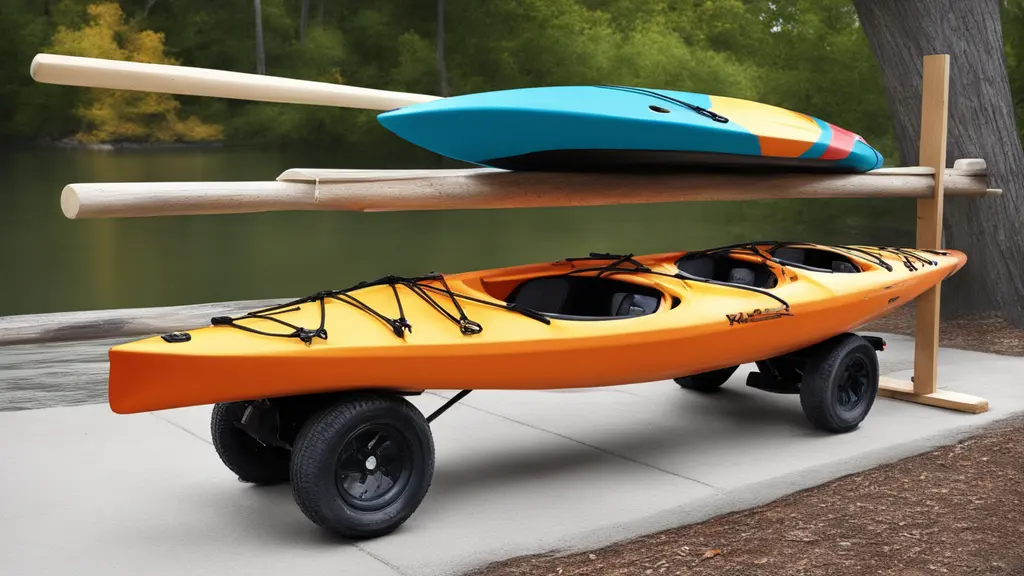
Freestanding Rack
A freestanding rack is a standalone structure that can be placed anywhere in your yard, garage, or outdoor space. It offers flexibility in terms of placement and is ideal for those who may not have a suitable wall to mount a rack.
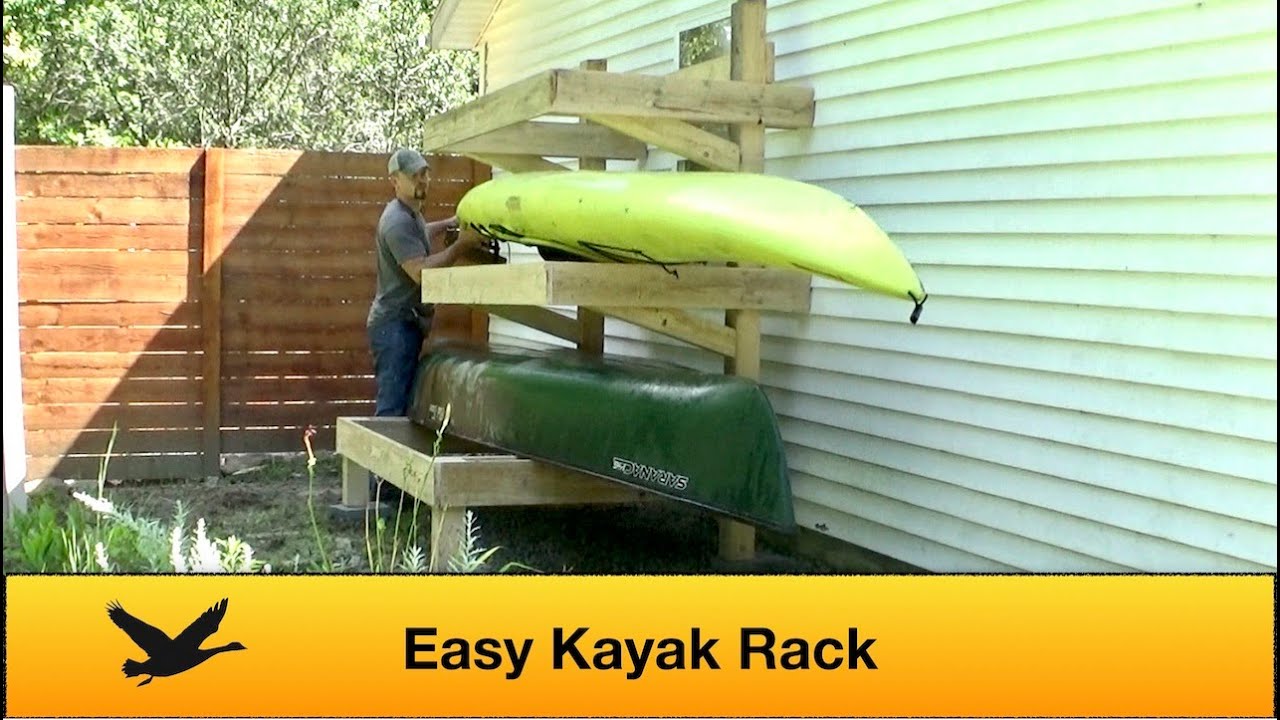
Wall-Mounted Rack
A wall-mounted rack is attached to a sturdy wall or vertical surface. This design is space-efficient and keeps kayaks neatly stored off the ground. It’s a great option for individuals with limited floor space.
Suspended Rack
A suspended rack is typically mounted from the ceiling or overhead beams. This design is excellent for freeing up both floor and wall space. It’s especially useful if you have a garage or shed with high ceilings.
Gathering Materials and Tools
Before you start building your kayak rack, gather the necessary materials and tools:
- Lumber: Choose sturdy and weather-resistant lumber such as pressure-treated wood or cedar. The dimensions will depend on your chosen rack design and the number of kayaks you plan to store.
- Screws and Bolts: Select corrosion-resistant screws and bolts that are appropriate for outdoor use. These will be used to secure the lumber pieces together.
- Measuring Tape: Accurate measurements are crucial for a stable and well-fitting rack.
- Saw: A saw will be needed to cut the lumber to the appropriate lengths.
- Drill: A drill is essential for creating pilot holes and screwing in the screws and bolts.
Step-by-Step Construction Guide
1. Design Planning
- Decide on the rack design that suits your space and needs.
- Sketch out a rough design with measurements.
- Determine the spacing between kayak cradles or supports to ensure stability.
2. Measuring and Cutting the Lumber
- Measure and mark the lumber according to your design.
- Use a saw to cut the lumber pieces to the desired lengths.
- Smooth any rough edges with sandpaper.
3. Assembling the Rack
- Begin by assembling the vertical supports and base of the rack.
- Attach crossbars between the vertical supports to create kayak cradles.
- Ensure all connections are secure by using screws and bolts.
- Double-check the stability of the rack structure.
4. Securing the Kayaks
- Gently place your kayaks on the cradles.
- Use straps or bungee cords to secure the kayaks to the rack.
- Make sure the kayaks are evenly balanced and not at risk of falling.
Maintenance and Safety Tips
Regular Inspections
- Periodically inspect the rack for signs of wear or damage.
- Tighten any loose screws or bolts.
- Check for any wood deterioration caused by weather exposure.
Weather Protection
- If your rack is placed outdoors, consider applying a weather-resistant finish to the wood.
- Cover the kayaks with tarps or kayak covers to protect them from rain and sun.
Weight Distribution
- Ensure that the weight of the kayaks is evenly distributed across the rack.
- Avoid overloading the rack beyond its recommended capacity.
Conclusion
Building a rack for kayaks is a practical and rewarding DIY project that enhances your kayaking experience. With the right design, materials, and construction techniques, you can create a durable and space-efficient rack that keeps your kayaks organized and well-protected. By following the step-by-step guide and incorporating maintenance tips, you’ll ensure that your kayaks remain in excellent condition for years of adventurous paddling.
Frequently Asked Questions
The cost of building a kayak rack depends on factors like the size, materials used, and whether you already have some tools. On average, you can expect to spend between $50 to $150 for materials.
Yes, you can adjust the dimensions of the rack to accommodate kayaks of varying lengths. Just ensure that the rack’s design and structure remain stable and secure.
Yes, a wall-mounted rack can support heavy kayaks as long as it’s properly anchored to a sturdy wall. Use appropriate hardware and ensure that the wall can handle the weight.
Read More about Kayaks:
- What to Wear for Kayaking in Summer
- How to Store a Kayak in the Garage
- What is a Skeg on a Kayak
- What is a Tandem Kayak
- How to Build a Homemade Kayak Launch
- How to Get in a Kayak
- What to Wear for Kayaking?
- How to Transport a Kayak Without a Roof Rack?
- How to Build a Kayak Rack for an RV?
- Are Inflatable Kayaks Safe?
- How Much To Rent a Kayak?

Meet Hudson, an enthusiastic writer and the Chief Editor at Outdoor Bravo Blog. Hudson’s heart belongs to the world of kayaking and kayaks, fueled by his insatiable love for nature and adventure.