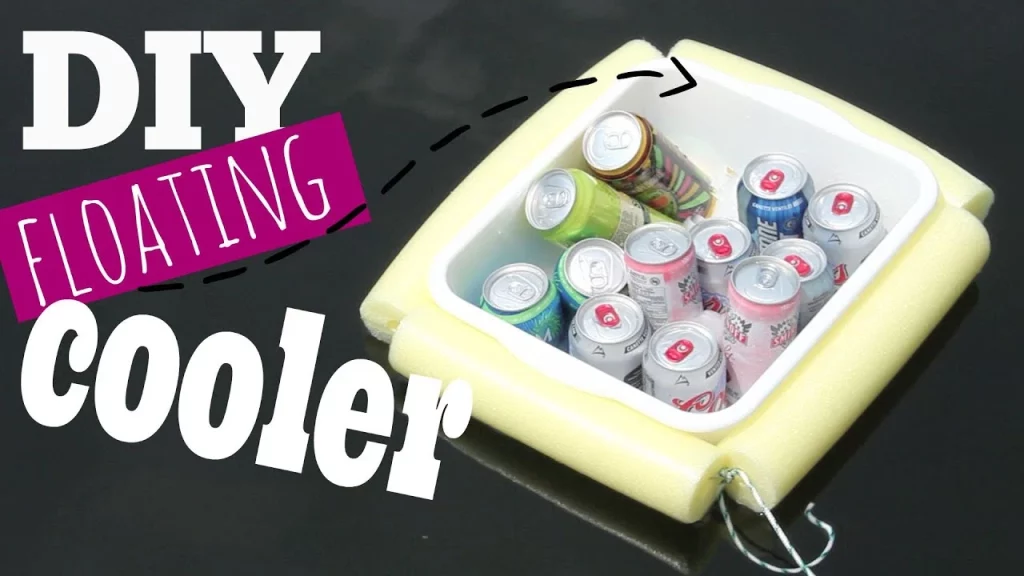
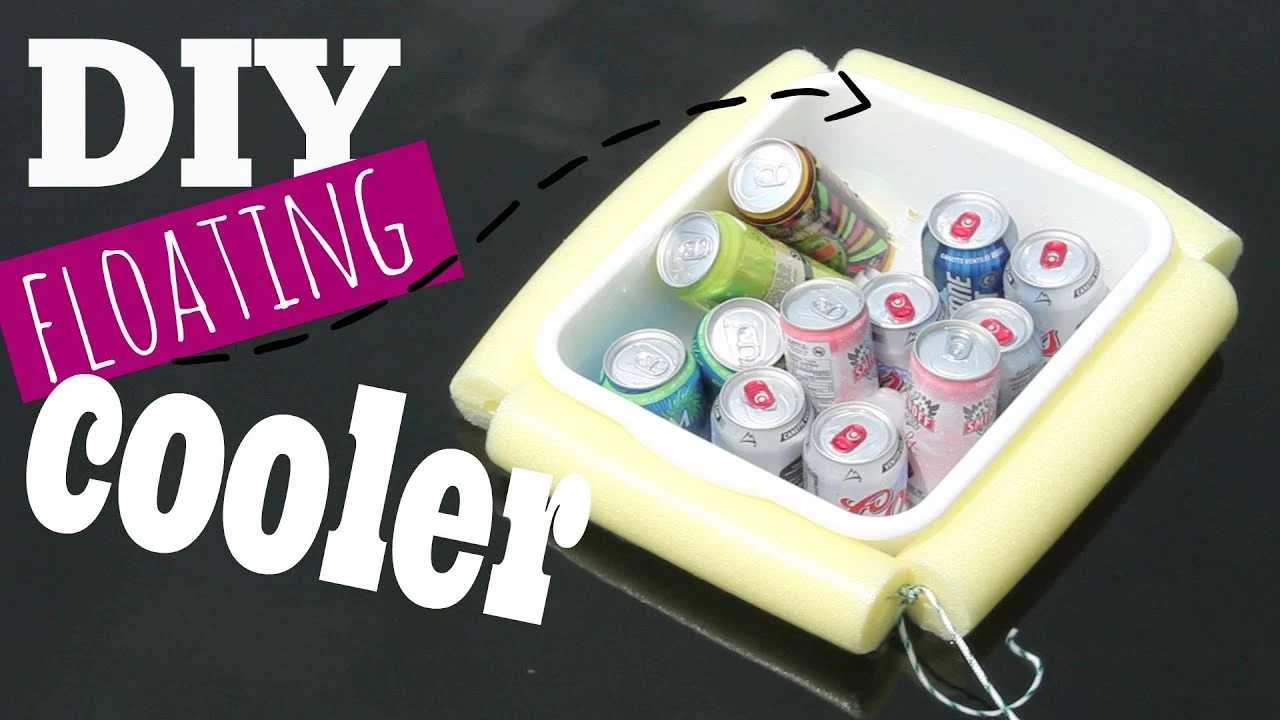
Kayaking is a fantastic outdoor activity that lets you explore lakes, rivers, and oceans, often for hours at a time. However, one challenge that kayakers frequently encounter is how to keep their drinks and snacks cool without taking up precious space in the kayak. The answer? A DIY floating cooler for Kayak! This cooler will bob along beside you as you paddle, ensuring that you have easy access to refreshing beverages and food. This article will walk you through the steps to create your very own floating cooler for kayaking, making your adventures on the water even more enjoyable.
Why a Floating Cooler?
Convenience
One of the main advantages of having a floating cooler is convenience. When you’re out on the water, the last thing you want to do is fumble around in a cramped kayak searching for your lunch or drinks. A floating cooler allows you easy access to your refreshments.
Space Saver
Kayaks often have limited space, particularly those designed for a single paddler. A floating cooler frees up space inside your kayak for other essentials like safety gear, cameras, or fishing equipment.
Read More: 3 Kayaks in Truck Bed? What You Need to Know
Social Factor
If you’re kayaking in a group, a floating cooler can become the communal hub for drinks and snacks. Since it floats, it’s easily accessible to everyone in the group.
Required Materials

For the Floating Base
- Pool Noodles (4): To keep your cooler afloat. Choose heavy-duty foam pool noodles for better buoyancy.
- PVC Pipes: These will provide the structure for your floating base.
- PVC T-Joints (4): To connect the PVC pipes.
For the Cooler
- Small to Medium Cooler: Choose one with a locking lid to prevent spills.
- Bungee Cords: To secure the cooler to the floating base.
Tools Needed
- Saw: For cutting PVC pipes to length.
- Measuring Tape: To measure the PVC pipes.
- Marker: For marking cut lines on your PVC pipes.
- Adhesive: Heavy-duty marine adhesive to bond the pool noodles to the PVC pipes.
Step-by-Step Instructions
Building the Floating Base
- Measure and Cut the PVC Pipes: Use your measuring tape and marker to measure and mark the PVC pipes. You’ll want to cut them so they match the dimensions of your cooler.
- Assemble the Base: Connect the cut PVC pipes using the T-joints to make a rectangular frame.
- Attach the Pool Noodles: Cut the pool noodles to fit the length of each PVC pipe. Slit them lengthwise on one side and place them over the PVC pipes. Use marine adhesive to secure them.
Attaching the Cooler
- Position the Cooler: Place your cooler in the middle of the floating base.
- Secure with Bungee Cords: Use bungee cords to securely fasten the cooler to the base. Make sure the cooler lid can still open easily.
Test the Float
Before taking it out on a kayaking trip, test your floating cooler in a small body of water to ensure it floats and is stable.
Safety Tips
- Double-Check Attachments: Always make sure that all parts are securely attached to avoid accidents.
- Balanced Weight: Make sure the weight inside the cooler is evenly distributed to avoid tipping.
- Monitor the Cooler: Keep an eye on your floating cooler while kayaking to make sure it doesn’t float away or become an obstacle.
Customization Ideas
- Add Cup Holders: Attach additional PVC pipes vertically to act as cup holders.
- Paint it: Use waterproof paint to add some color or designs to your floating cooler.
- Flag Pole: Attach a small flag to make your cooler easily identifiable.
Final Thoughts
Building a DIY floating cooler for your kayak is not only a practical solution to keep your drinks and snacks cool but it’s also a fun project that you can tackle in a weekend. With minimal materials and a little creativity, you’ll be well on your way to more enjoyable and refreshing kayaking adventures.

Hi, I’m Steve, the passionate kayaking enthusiast behind Outdoor Bravo. As an avid adventurer and nature lover, kayaking has been a central part of my life for as long as I can remember. My love affair with the water began during my childhood, and it has only grown stronger over the years. From serene lakes to rushing rivers and even challenging ocean tides, I’ve navigated various water bodies, seeking new thrills and unforgettable experiences.
