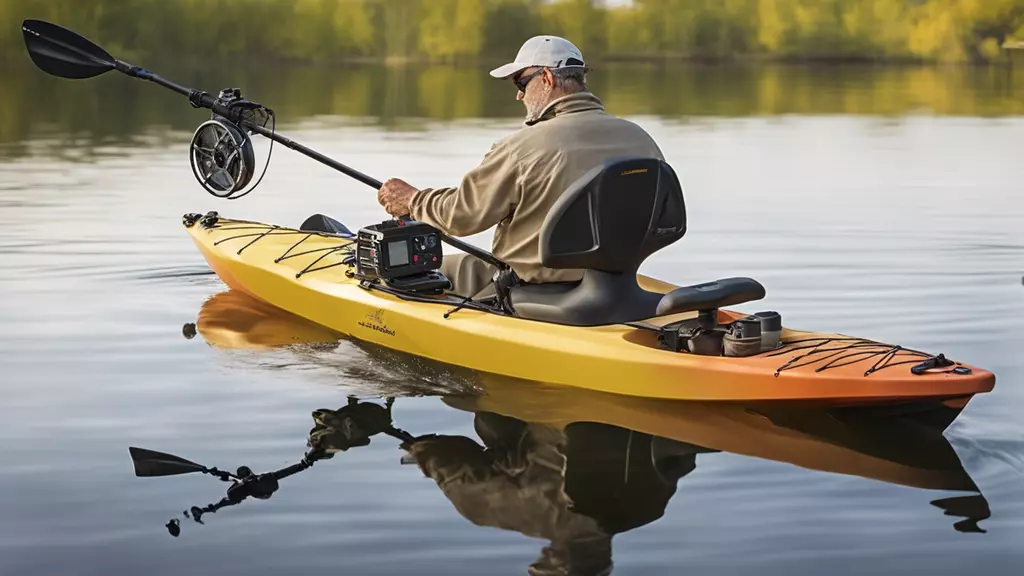
Kayak fishing has become increasingly popular over the years, with anglers seeking new ways to enhance their fishing experience. One effective way to improve your kayak fishing game is by adding a trolling motor to your kayak. Trolling motors provide quiet and efficient propulsion, allowing you to cover more water and focus on fishing. In this comprehensive guide, we will walk you through the step-by-step process to mount a trolling motor on a kayak.
Adding a trolling motor to your kayak can revolutionize your fishing experience, providing ease of movement and greater control over your kayak. Whether you’re exploring calm lakes or navigating through narrow waterways, a trolling motor can make your fishing trips more enjoyable.
Choosing the Right Trolling Motor
Before you begin the installation process, it’s crucial to choose the right trolling motor for your kayak. Consider factors such as thrust power, battery life, kayak weight capacity, and the type of water you’ll be fishing in. There are various trolling motor options available, including bow-mounted and stern-mounted motors.
Gathering the Necessary Tools and Materials
To ensure a smooth installation process, gather the following tools and materials:
- Trolling motor and mounting bracket
- Screws, bolts, and nuts
- Drill and appropriate drill bits
- Screwdriver and wrench set
- Electrical wires and connectors
- Wire stripper and crimping tool
- Marine sealant
- Safety goggles and gloves
Preparing Your Kayak
Before you start installing the trolling motor, prepare your kayak by following these steps:
- Clean the mounting area on the kayak’s stern or bow to ensure a secure attachment.
- Measure and mark the appropriate position for the mounting bracket. Ensure the motor is aligned with the kayak’s centerline for balanced propulsion.
Installing the Mounting Bracket
Mounting the bracket is a crucial step that ensures the stability of your trolling motor. Follow these steps:
- Place the mounting bracket on the marked position and use a pencil to mark the holes.
- Drill pilot holes for the screws or bolts. Be cautious not to drill through the kayak hull.
- Attach the mounting bracket using screws, bolts, and nuts. Ensure a snug fit and use marine sealant to prevent water leakage.
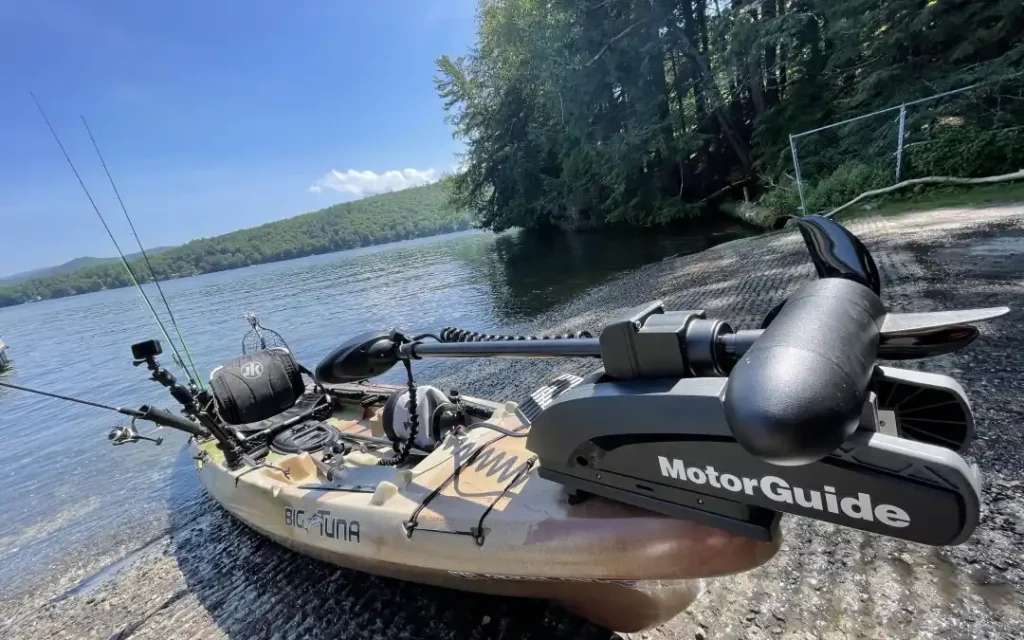
Attaching the Trolling Motor
Now it’s time to attach the trolling motor to the mounting bracket:
- Follow the manufacturer’s instructions to attach the trolling motor to the bracket securely.
- Double-check all connections and ensure the motor is properly seated in the bracket.
Wiring the Trolling Motor
Proper wiring is essential for the smooth operation of your trolling motor. Follow these steps:
- Measure and cut the appropriate length of electrical wires to reach from the motor to the kayak’s battery location.
- Strip the wire ends and attach connectors to both the motor and the battery terminals. Ensure proper polarity.
- Use a wire stripper and crimping tool to secure the connections. Apply marine sealant to protect the connections from moisture.
Testing and Safety Measures
Before hitting the water, perform a thorough test of the trolling motor:
- Connect the battery and turn on the motor to check its functionality.
- Ensure the motor is running smoothly and responding to controls.
- Always wear a personal flotation device (PFD) and follow all safety guidelines while using the trolling motor.
Maintenance Tips
To prolong the life of your trolling motor and ensure its optimal performance, follow these maintenance tips:
- Regularly inspect the motor, mounting bracket, and wiring for any signs of wear or damage.
- Keep the connections clean and free from corrosion by applying dielectric grease.
- Rinse the motor and bracket with freshwater after each use to remove salt and debris.
Conclusion
Mounting a trolling motor on your kayak can elevate your fishing experience by providing enhanced mobility and control. By choosing the right trolling motor, following a systematic installation process, and prioritizing safety and maintenance, you can enjoy countless hours of efficient and enjoyable fishing on the water. Remember to always refer to the manufacturer’s instructions and take proper safety precautions to make the most of your trolling motor-enhanced kayak fishing adventures.
Read More about Kayaks:
- What to Wear for Kayaking in Summer
- How to Store a Kayak in the Garage
- What is a Skeg on a Kayak
- What is a Tandem Kayak
- How to Build a Homemade Kayak Launch
- How to Get in a Kayak
- What to Wear for Kayaking?
- How to Transport a Kayak Without a Roof Rack?
- How to Build a Kayak Rack for an RV?
- Are Inflatable Kayaks Safe?
- How to Build a Rack for Kayaks?
- How Much To Rent a Kayak?
- How to Fix a Hole in a Kayak?
- Wilderness Systems Pungo 120 Kayak Review

Hi, I’m Steve, the passionate kayaking enthusiast behind Outdoor Bravo. As an avid adventurer and nature lover, kayaking has been a central part of my life for as long as I can remember. My love affair with the water began during my childhood, and it has only grown stronger over the years. From serene lakes to rushing rivers and even challenging ocean tides, I’ve navigated various water bodies, seeking new thrills and unforgettable experiences.